Setting up a Ubiquiti network
We wanted good WiFi coverage in our house and we did not have it, so we set up a Ubiquiti network. This is how we did it.
Options for getting good coverage
There are three ways to get good WiFi coverage in your house:
- Use a repeater (also known as an extender or a booster), like a TP-link range extender.
- Use mesh networking, like a Netgear Orbi.
- Have multiple wired access points.
1. A repeater
A repeater uses WiFi to present the same network in different parts of the house. It’s using the same WiFi as the other devices, so a potential downside is that they can get in the way of each other’s traffic. This is the cheapest option.
2. Mesh networking
A mesh network creates its own network (a backhaul network) to pass data around your house rather than using WiFi, so you do not get the network contention you might have with a repeater.
Having a mesh network is like having a wired network, though because it’s not using wires it’s not as fast and potentially not as reliable (e.g. radio interference can happen). This is more expensive than getting a repeater, but is very easy to set up.
3. Multiple wired access points
A wired network is the best of all because the network can communicate at the highest speed your wires can do, which will be faster than WiFi. There is also minimal interference as the network is not shared by anything else.
This is the most involved to set up, and can be quite expensive.
We had our house renovated a year ago, and with all this in mind we had Ethernet wired throughout the house, with the aim of doing option 3.
We decided to use Ubiquti for the networking gear
As a technologist, Ubiquiti appealed because, if you know what you’re doing, you can optimise it.
Ubiquiti has the kind of crossover product that is aimed at consumers with experience (“power users”), rather than actual professional networkers, which suited me perfectly.
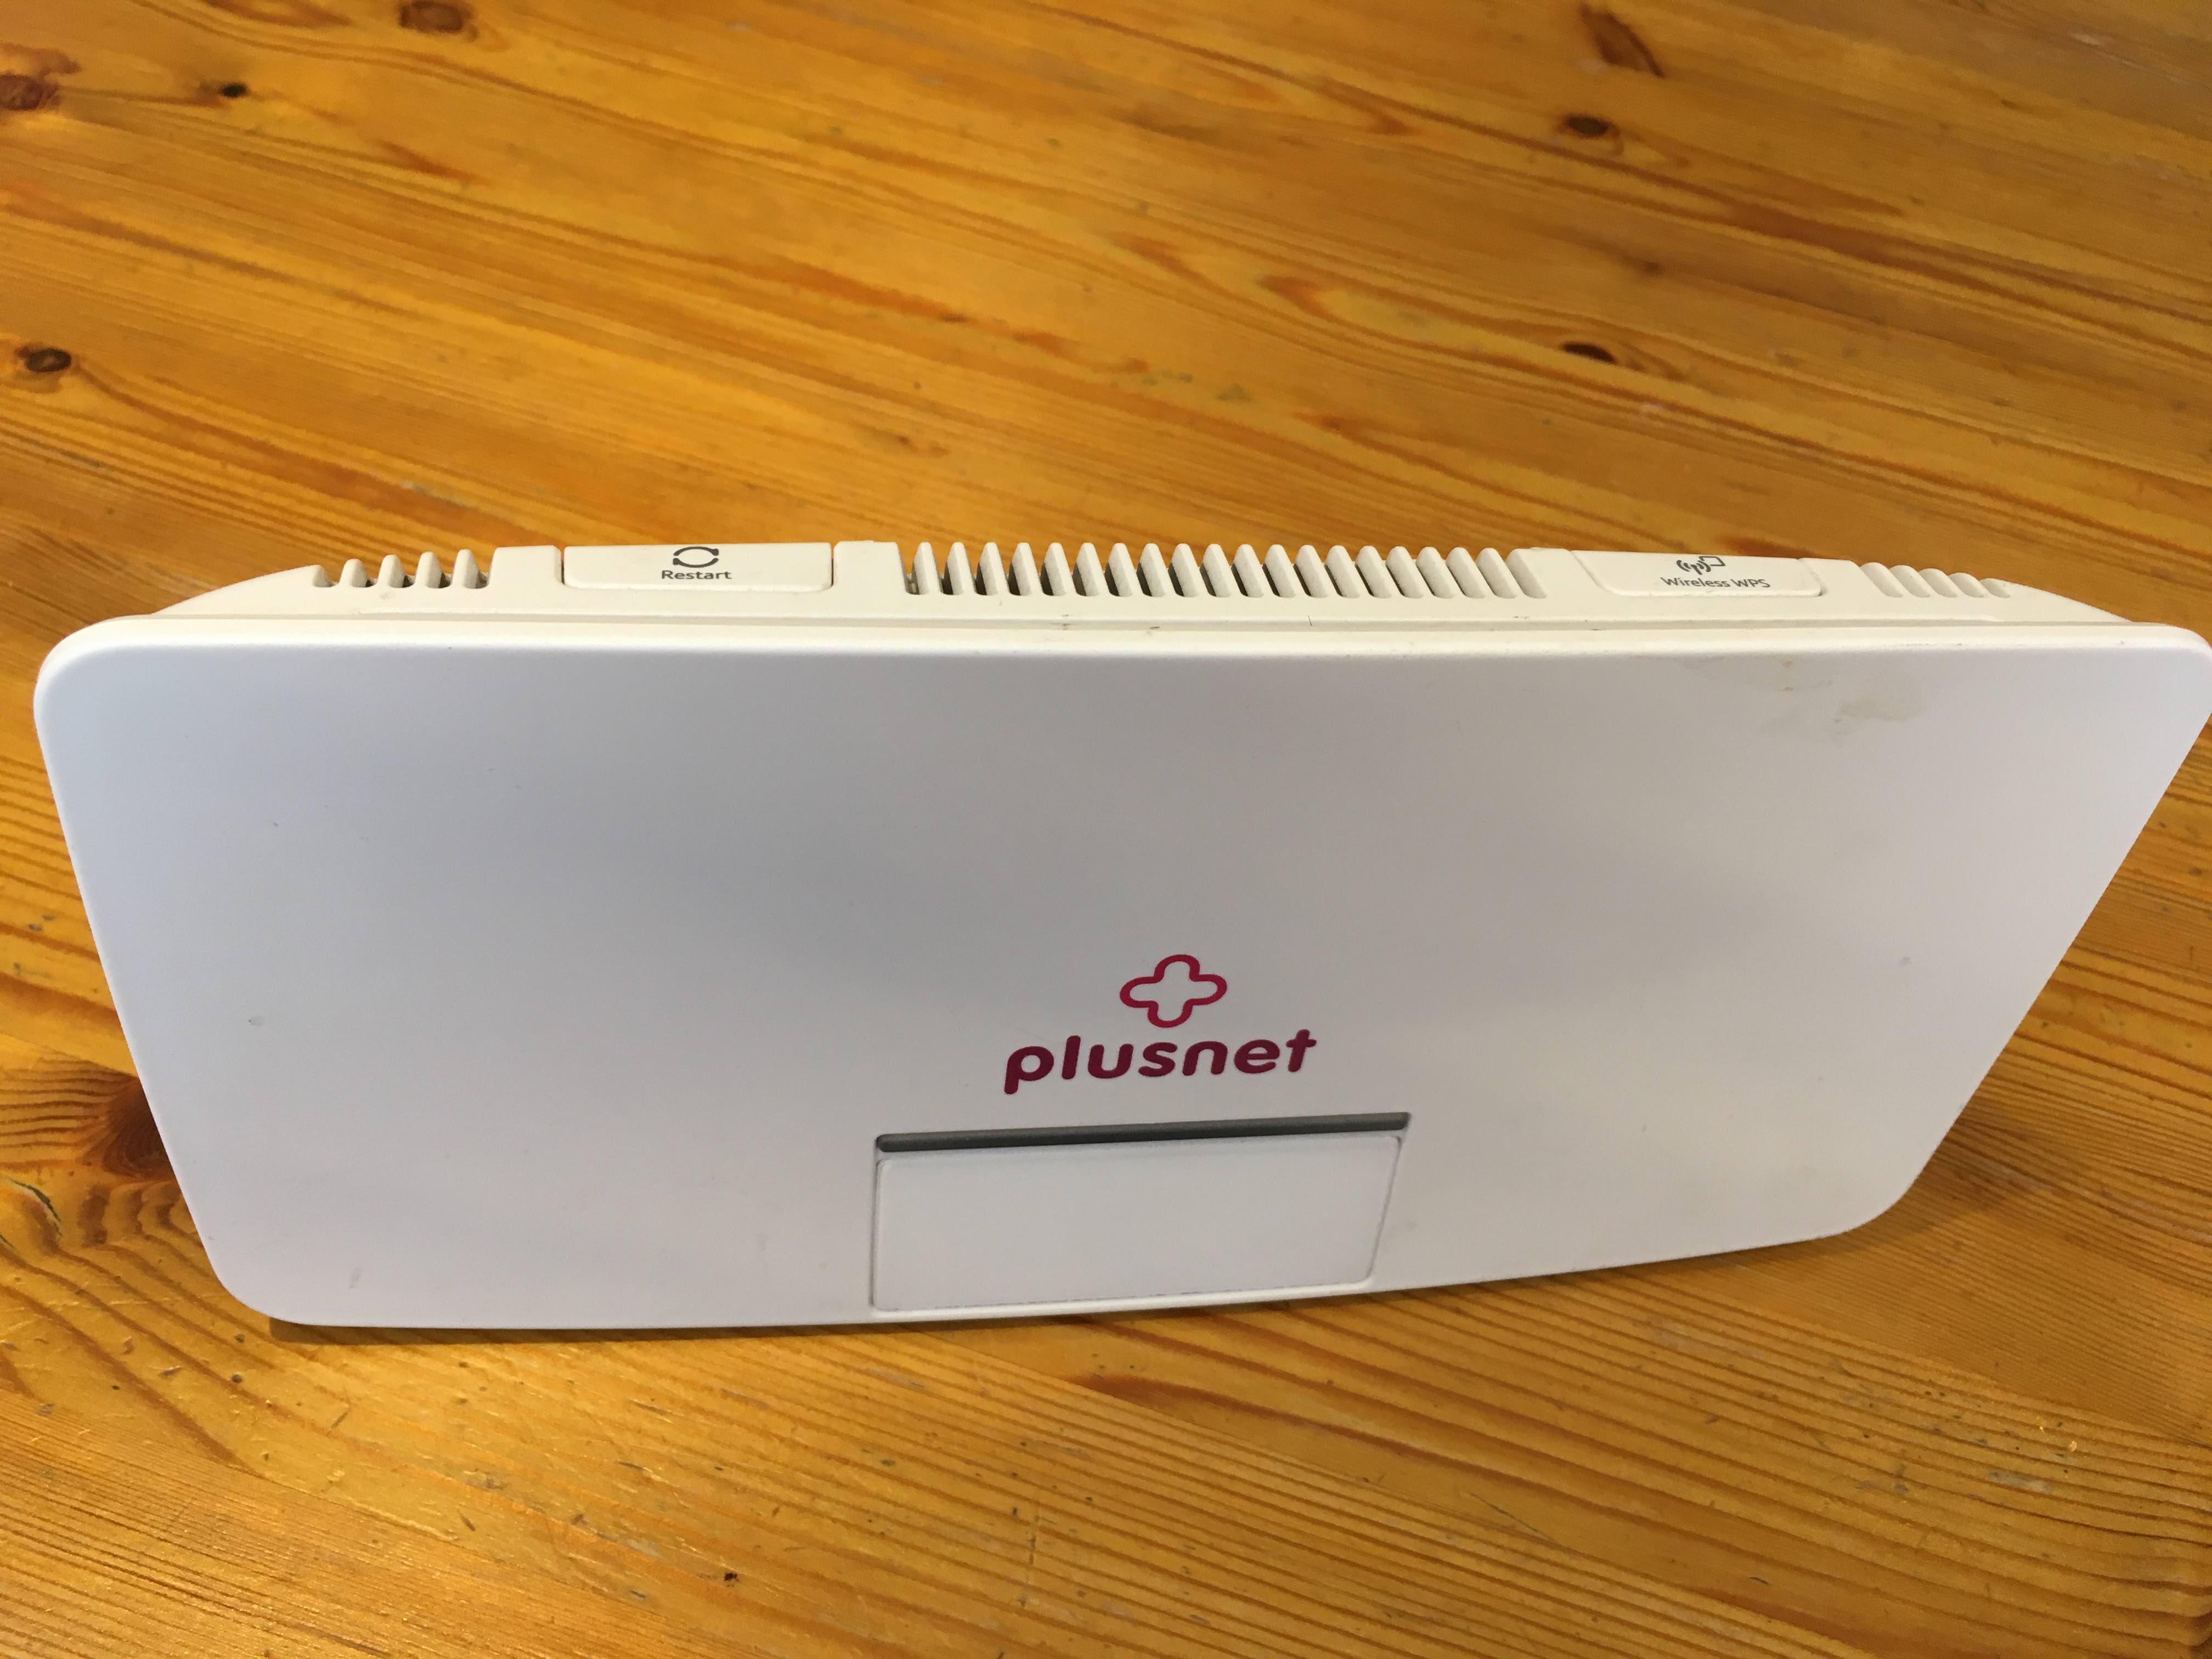
The ISP-provided router performs a number of roles
Currently our Internet Service Provider (ISP) is PlusNet, and we were just using the router they sent us.
A router like this is five things:
- A modem. This converts the signal sent over the phone line back into data.
- A firewall. The router has a software firewall on it to stop malicious traffic accessing the local network, and doing something like SSHing onto your laptop, or changing your routing table such that their server looks like your bank.
- A router. This connects two (or more) networks together – in this case, the local network in my house with the internet (via the ISP’s network) – and knows when to direct traffic either to the right place on the local network, or to the internet.
- A switch. This connects the devices in the house together (e.g. my phone, my laptop), determines the source and destination addresses of each packet, and forwards it only to the correct device.
- An access point. This creates a wireless local area network (WLAN) which allows authenticated devices within range to connect to the wired network.
With Ubiquiti, you separate out some or all of those roles.
You can mix and match
For example:
- You can just get some extra access points (APs) and connect them to your existing router. This will give you extra WiFi coverage around the house. You continue to use your ISP’s router for all other roles. The APs use Power over Ethernet (PoE) rather than having an option to plug them into the mains, so you also need some PoE adaptors.
- You can get some APs and a Ubiquiti switch (which usually has PoE so you don’t need to buy the adaptors). Continue to use your ISP-provided router as modem, router and firewall. This means you can do some management of the switch and the network, like getting statistics on usage or booting off the phone of a cheeky builder who looked at the router card for the password. You can also plug more in; you’re not limited to the four ports your ISP’s router has spare.
- You can go all in: use a modem from e.g. BT, and buy everything else from Ubiquiti; a switch, APs, and a security gateway as firewall and router.
Dipping our toe in
We were very tempted to go all in to begin with, but decided to be sensible and start with option 1. We got two access points and two PoE adaptors, and some network cables.
We got two types of AP: one disc and one in wall. The disc is cheaper but ugly and huge, so we got one of those for the loft, and an in wall one for the study.
You don’t buy direct from Ubiquiti, you buy from a distributor. We got ours from NetXL.
Cost of option 1 ~£175
A labour-intensive digression into blueprints
Ubiquiti’s website offers you the facility to upload blueprints of your house layout and place APs to see how much coverage you’ll get/how many you need. However, you have to do a great deal of the work yourself, e.g. drawing in walls.
My partner whiled away a few happy hours on this, but it’s not necessary: you can figure out how many you’ll need when you know the range of the APs and how many walls they have to get through.
Creating the new WiFi network
In installing the APs you are setting up a new WiFi network (as opposed to supplementing your existing network).
If you want to not have to reconnect all your devices, you set up your new network to use the same username and password as your existing network. You have to make sure you switch off WiFi on the router (usually quite straightforward via the ISP router-management software) because having two networks with the same name will confuse devices.
The alternative is that you set up a new network and just leave the old one hanging around but there’s no advantage to doing that.
Setting up the controller software
To configure and manage the network, you can use an iOS app, but it doesn’t allow multiple people to control it so you would need one designated sysadmin.
Instead, you can use Ubiquti’s free controller software, but you need somewhere to run it.
You can get their cloud key, which also allows remote connectivity (in case you want to administer your network from elsewhere). However, they are > £100, and they plug into the router, so take up one of your Ethernet ports.
You could use something like a Raspberry Pi, but we decided to use our iMac because it’s always on and we both have access.
We are using a Vagrant box so we don’t have to install all the other dependencies (and also because I love Vagrant). We figured it out mostly using this guide to installing via APT, but we also had to refer to the installing manually guide, e.g. for port forwarding. Our Vagrantfile is on GitHub.
Using this Vagrantfile, you then have the Unifi software running at https://localhost:8443 and you follow the installing manually guide to set up your network and APs. We actually just did it locally without setting up a Ubiquiti account, which is in advanced settings.
An ultimately fruitless digression into Docker
We also investigated running the controller in Docker, after reading a blog post about it.
It worked, but because were running it on a Mac, it adds another layer of indirection and management over just doing it using Vagrant, because on a Mac you cannot run Docker natively, you have to run it in a VM. (If we had been using a Raspberry Pi, for example, this would not have been the case.)
The VM intermediary layer created a couple of problems:
- there were some complexities about which volumes to share between the host and the container so that we could ensure the controller config could be backed up on the Mac rather than inside the container.
docker-machineis the docker-sanctioned wrapper for running containers on Mac, and this doesn’t support bridged networking directly, requiring us to jump through more hoops (described here) in order to make the controller appear to be on the same network as the devices. (This is because if the controller is on a different network, adopting devices is more complicated).
Vagrant supports bridged networking, and as I have already mentioned, I love Vagrant, so we gave up on Docker.
Spam was coming from Inside the House!!
The controller software shows network association failures, i.e. clients not successfully connecting to the WiFi. Once we were able to see these logs, we realised we were getting thousands of network association failures a day, from a single device.
It turned out that the TV was trying to connect but it had the wrong password. In fact we had deliberately given it the wrong password because when it updated its software this often broke features (yes, it’s a “smart” TV) so we didn’t want it on the network – and there is no way to make the TV forget a network.
The thousands of failures hadn’t caused any problems at all, but now we could see these errors it had to be stopped. (We created a new network, let it join that network and then turned off that network). This cleared up the error messages on the controller. It had no beneficial effect apart from that but the curse of being an engineer is having to solve painless problems!
Dipping a whole foot…
We had our Option 1 setup for around 9 months.
It was definitely better than it had been previously, but it wasn’t perfect and there were some areas of poor signal, particularly in the garden, which made doing my weekly remote circuit training with my colleagues quite hard.
We decided to get one more access point. We thought we wanted two more, one that reached the garden and one that improved coverage in the front of house, but the ISP-provided modem only had four available Ethernet ports; three APs, plus the Apple TV which is hardwired. With some shuffling though, we managed to find a configuration of the three that did cover everything.
Additional cost £90
Time to jump in
This lasted for around six months.
However, we started to notice various parts of the network dropping out. On examination the relevant access point would not even appear to be on the network. Restarting the router did not help; only unplugging and replugging the Ethernet cable for the AP solved the problem. Either the router was struggling to handle four Ethernet connections or it was reaching the end of its usable life. It was time to go all in.
So we needed a switch. We needed one with >4 Ethernet ports to connect all our APs and the outside world, and ideally one with PoE so we could remove all the adaptors. As we had a server cabinet, we obviously had to get one that was rack-mountable; so the one we got had 16 ports.
Theoretically we could have just got a switch and used the ISP’s router as the security gateway, router and modem, but by this stage we were ready to fully commit.
The security gateway also acts as a router, and buying our own allows us better control of the network. The ISP’s router was a black box; we could not debug anything. It also did not properly support Universal Plug and Play (UPnP) or Multicast DNS (mDNS) which meant that the Xbox didn’t reliably connect to the network and Airplay didn’t reliably work. Also, managing your own security gateway means you can add things like DNSCrypt and use ODoH.
We didn’t need to buy a modem as we happened to have an old BT-provided one in a drawer.
Total cost of switch and security gateway ~£370
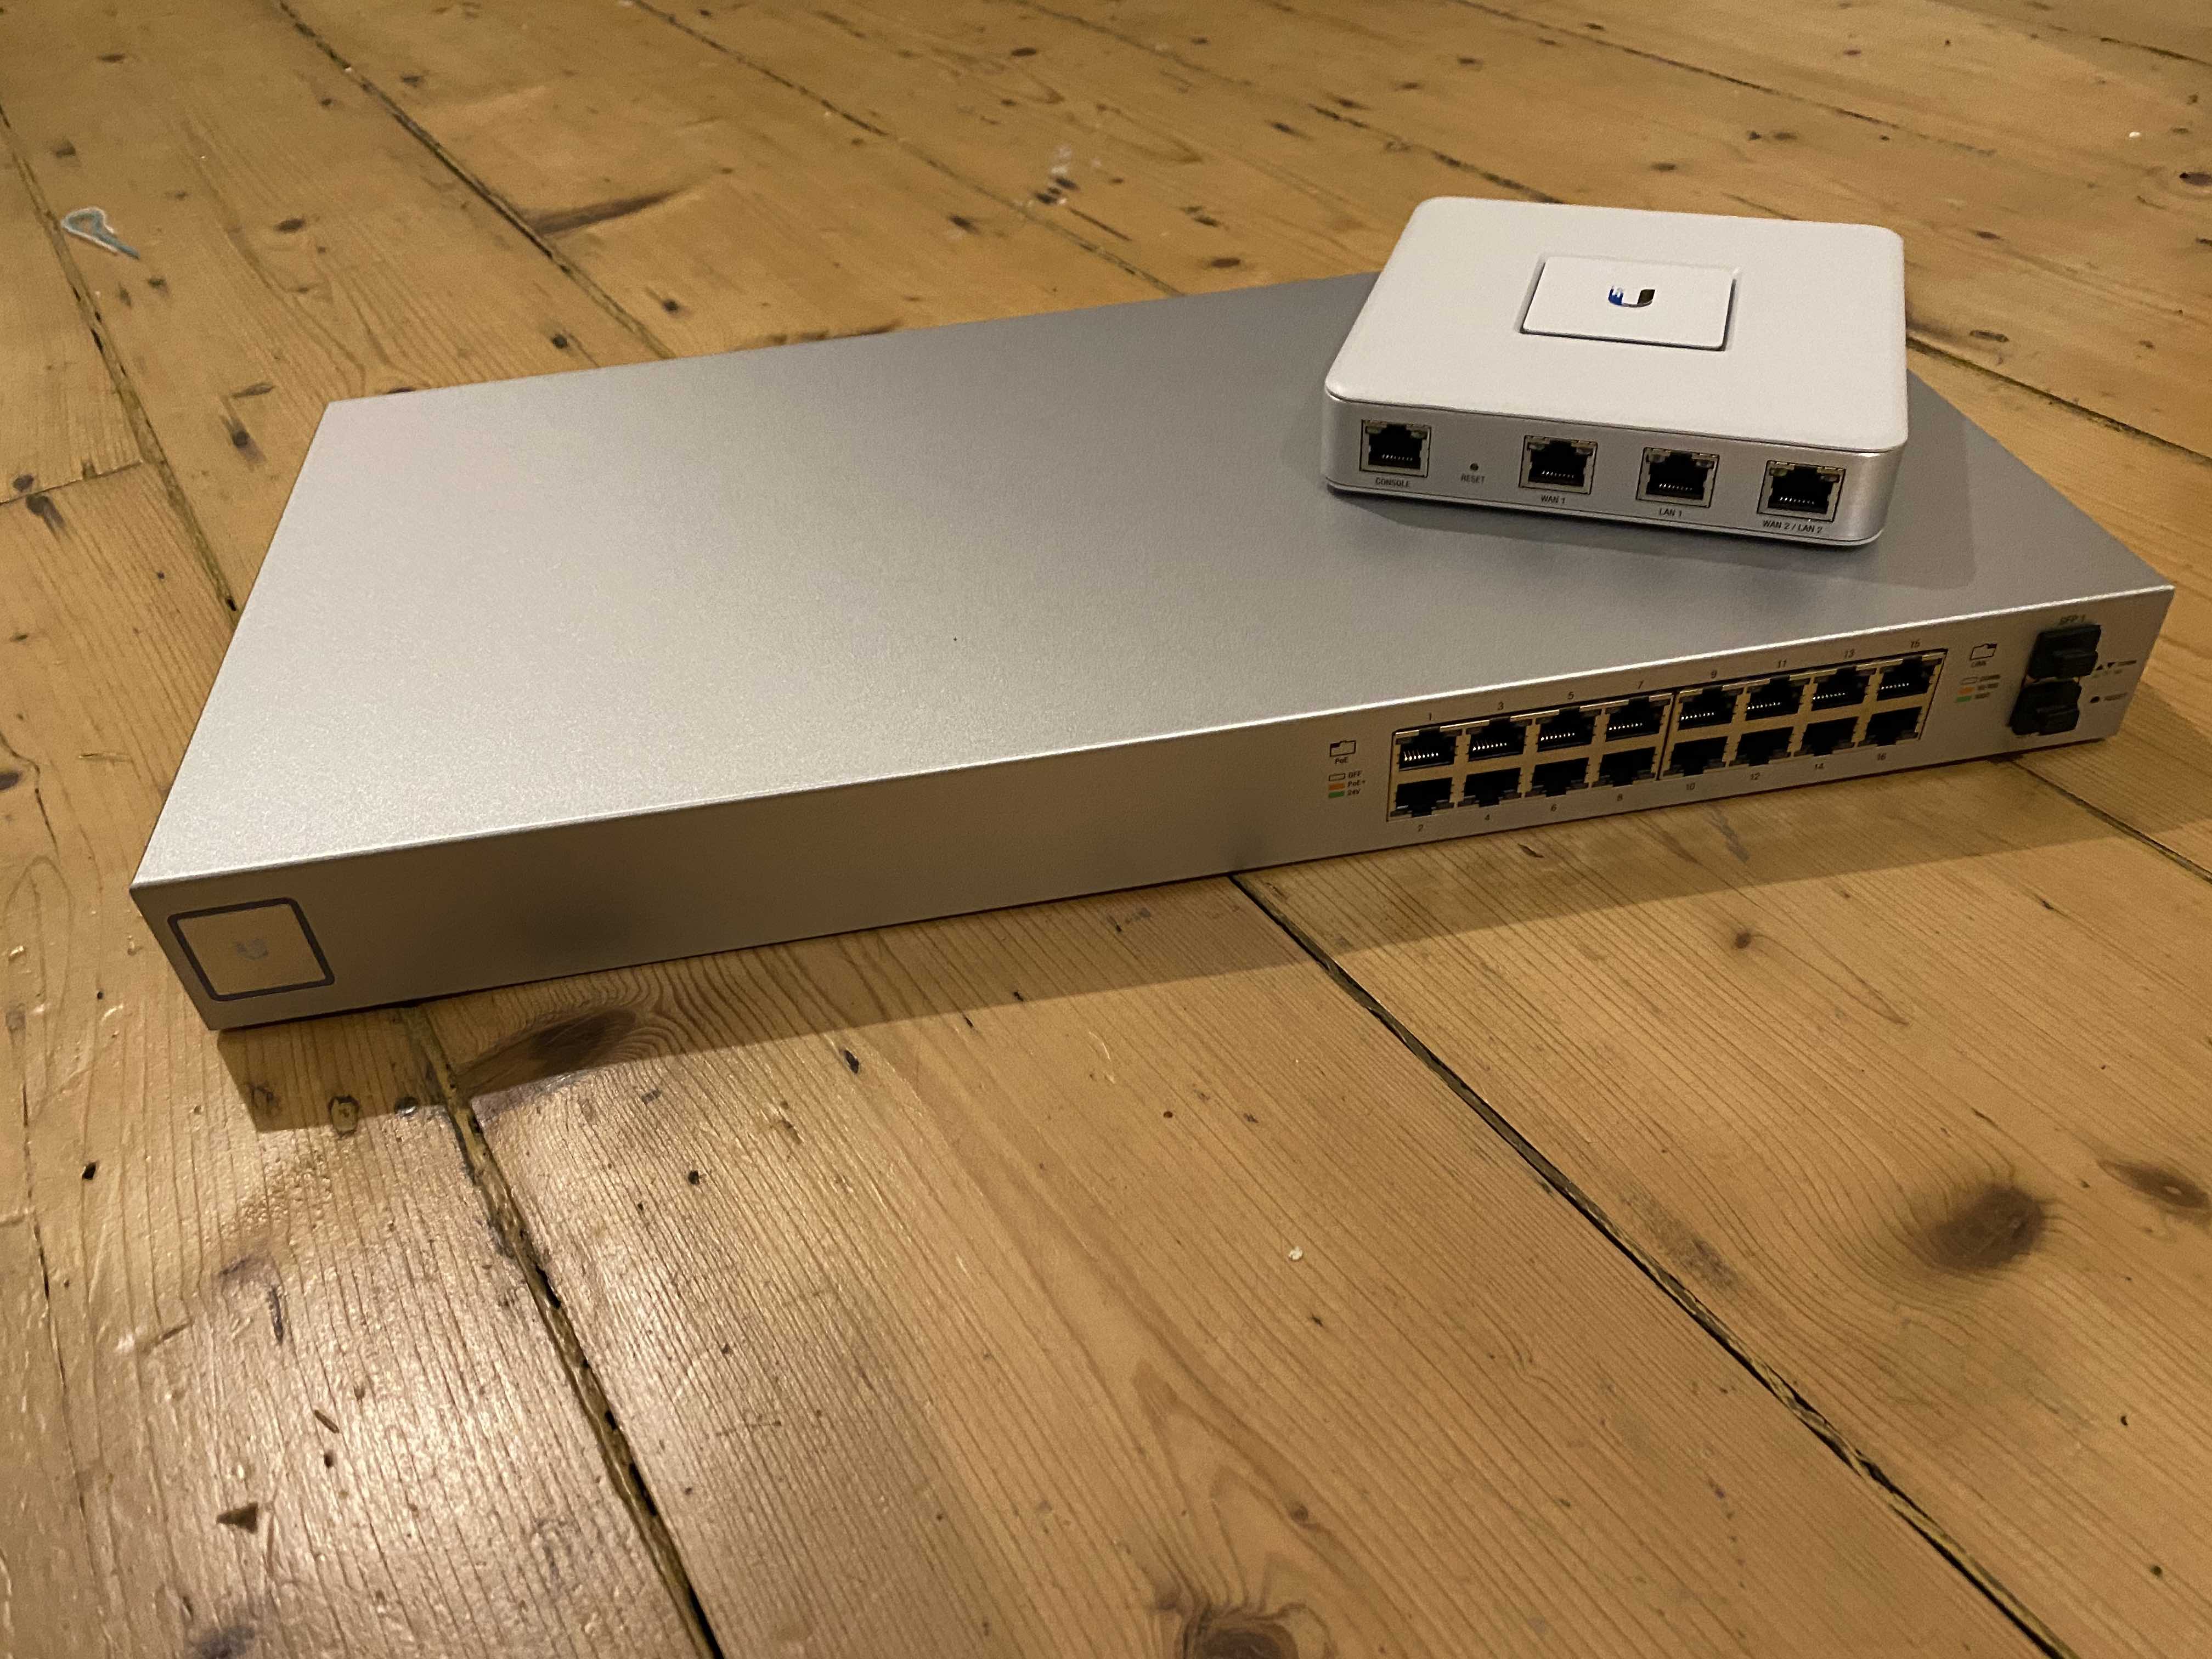
Aren’t they pretty
How we set it all up
If you go all in to start with, buying a switch, security gateway, and a few APs all at once, you would just plug them all together, set up your controller software, and configure. Your devices would automatically connect to the new network if it had the same name as the old network.
If you’re adding the extra kit later, as we did, you first have to do a full factory reset on your exisiting APs, because setting up a security gateway redefines your network, so you don’t want to try to adopt it into an existing network. Once the APs are back online you configure the network using the controller software (i.e. adopting each AP as new).
Summary, six months on
It’s great.
Our Airplay devices are always available. UPnP is now integrated and works consistently so the Xbox can always access the network. Connecting to other devices is instantaneous, for example SSHing to the iMac, and connecting to the WiFi is also faster, e.g. when opening a laptop. Everything is easier to debug because everything is a little Linux box. And our internet connection speed has slightly increased, from about 72mb to 75mb down and from 18mb to 21mb up.
And most importantly, we have what we wanted: coverage everywhere throughout the house.
The total cost was about £650. This compares to about £150 buying three WiFi extenders, about £350 buying mesh networking – or £0, using the ISP-provided router. So it’s quite expensive – though spreading it out over eighteen or so months made it less painful. And it has massively improved our WiFi coverage and therefore quality of life.
All we need is for those OpenReach people we saw outside to really have been installing fibre to the premises as the street WhatsApp rumoured, and we’ll be completely sorted!
If you’d like to be notified when I publish a new post, and possibly receive occasional announcements, sign up to my mailing list: